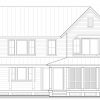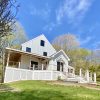
I’ll start off by saying that I’ll never give this as much credit as it’s due. Most of the time we plan for an installation of a factory fabricated unit in this scenario… however, we made the choice to job build this as a testament to the level of custom work we’re capable of.
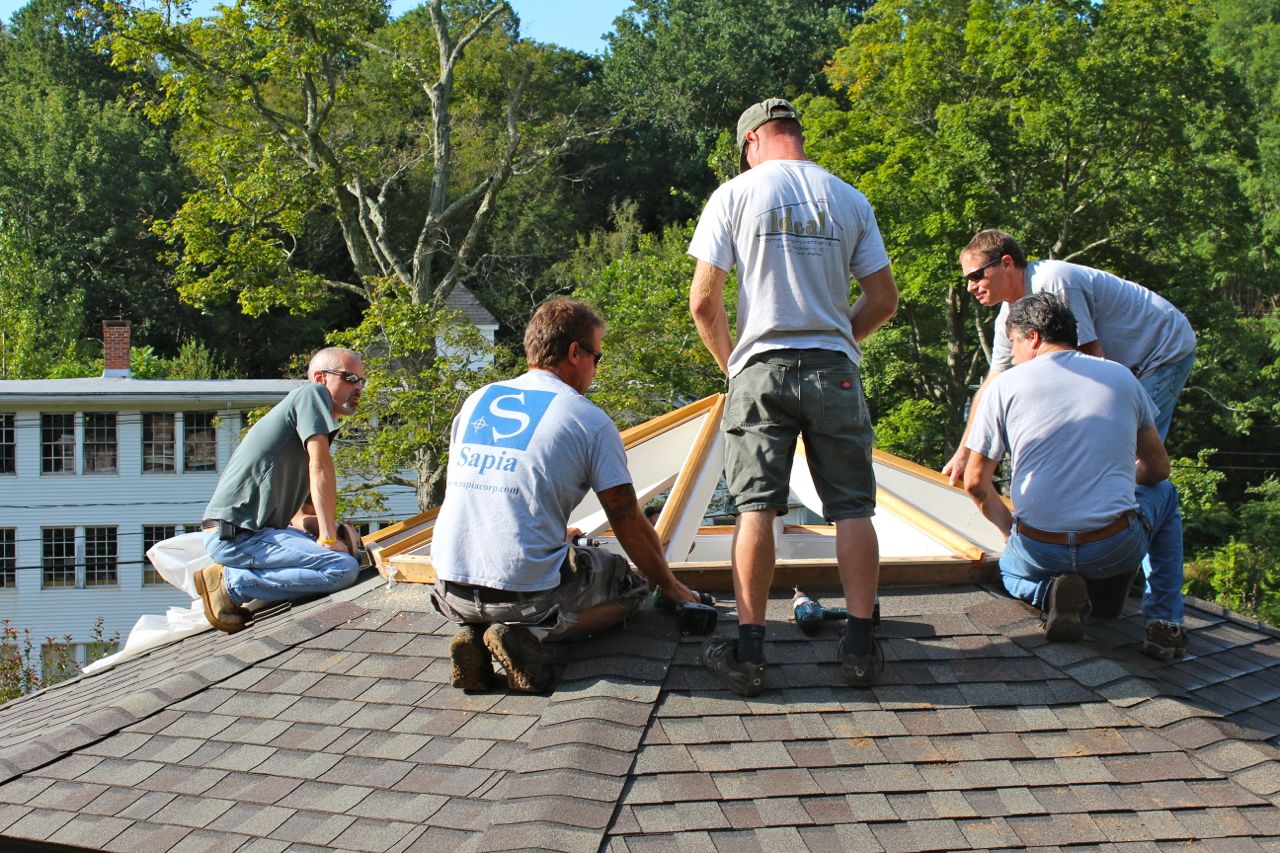
Planning the skylight began before framing the walls for this building. You’ll see in the photos that we assembled the roof into 8 panels on the ground before anything else. After that was established, we then framed an octagonal dome to overlap the roof panels and sit on top, to later be fastened together, flashed, and installed.
For the next few months we simply had the dome in place with plastic covering the skylight panels. We then made an elaborate set of cedar window stop that wrapped the upward facing part of the skylight. Since each we made sure that each panel was exactly the same, it was relatively easy to template and pattern for the glass to fabricated.
From there we waited for the glass installation… during this time we bought copper, bent our own flashing, and crossed our fingers we could get this all together before Hurricane Irene, which of course we did.
The glass installation went smoothly, shown in the accompanying photos. We finished our flashing, tied the dome roof into the lower roof, and moved to interior work. You’ll notice we managed to hide electrical work up to the center of the dome for a finish installation of a ceiling fan.
The final look of the dome skylight from the inside are finish painted, sheetrock wrapped, framing. It’s clean, contemporary, and simple.
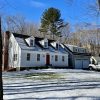
As I said earlier, not enough can be said to give the execution of this justice. Not only was it custom, complicated, and designed on the job, but that actual design and execution was totally critical to establishing the look of the addition and in turn establishing a new look for this very established residence.
[thumbnails width=”125″ height=”125″]