


Three Generations of Building & General Contracting
We’re located on the shoreline of Connecticut, working & building incredible innovative designs all year round.
-
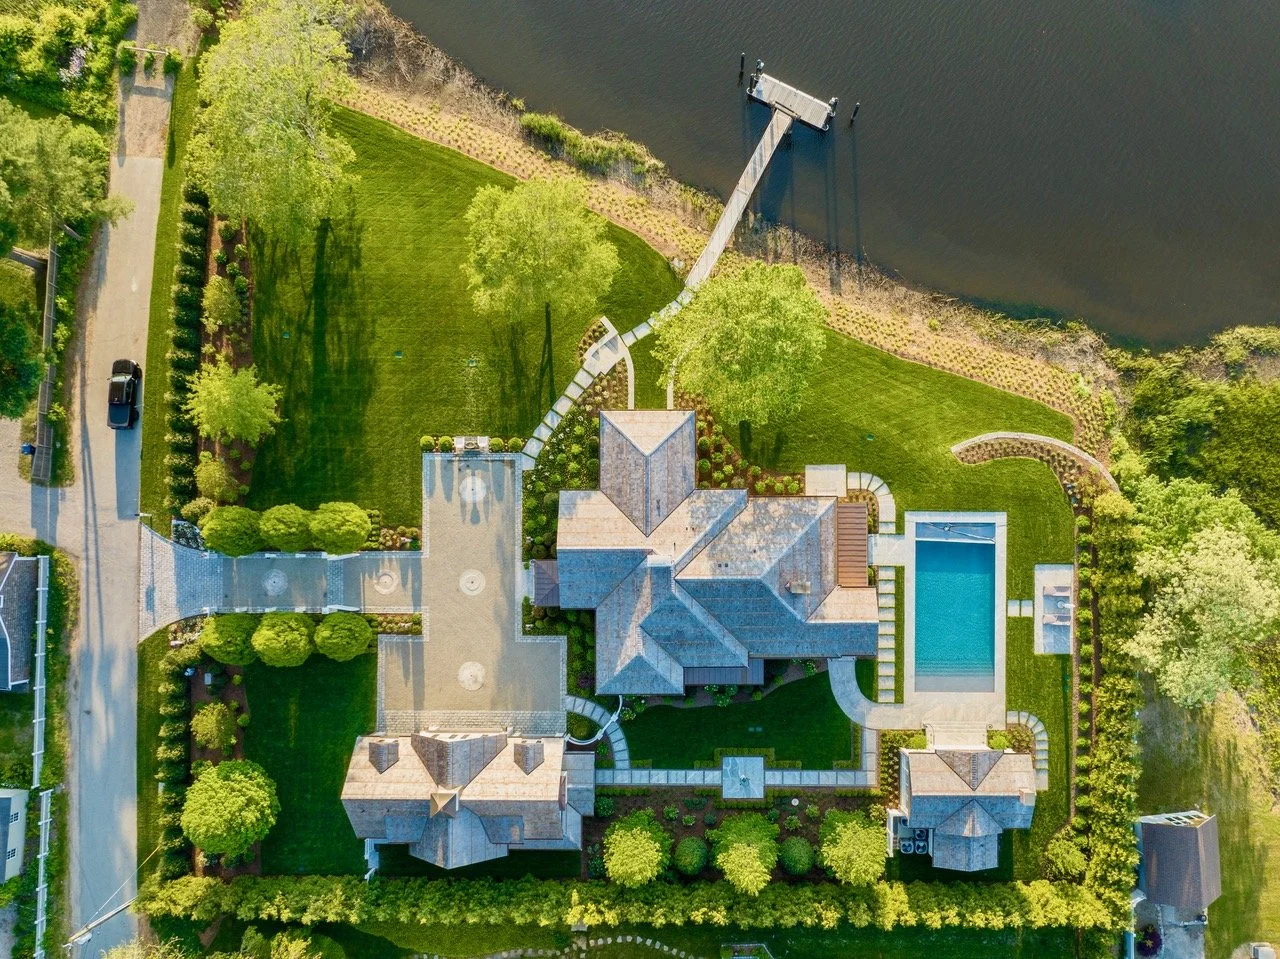
![Aerial view of a large house with multiple roofs, a swimming pool, a dock extending into a river, and a landscaped yard with trees and green grass.]()
Old Lyme, CT
-
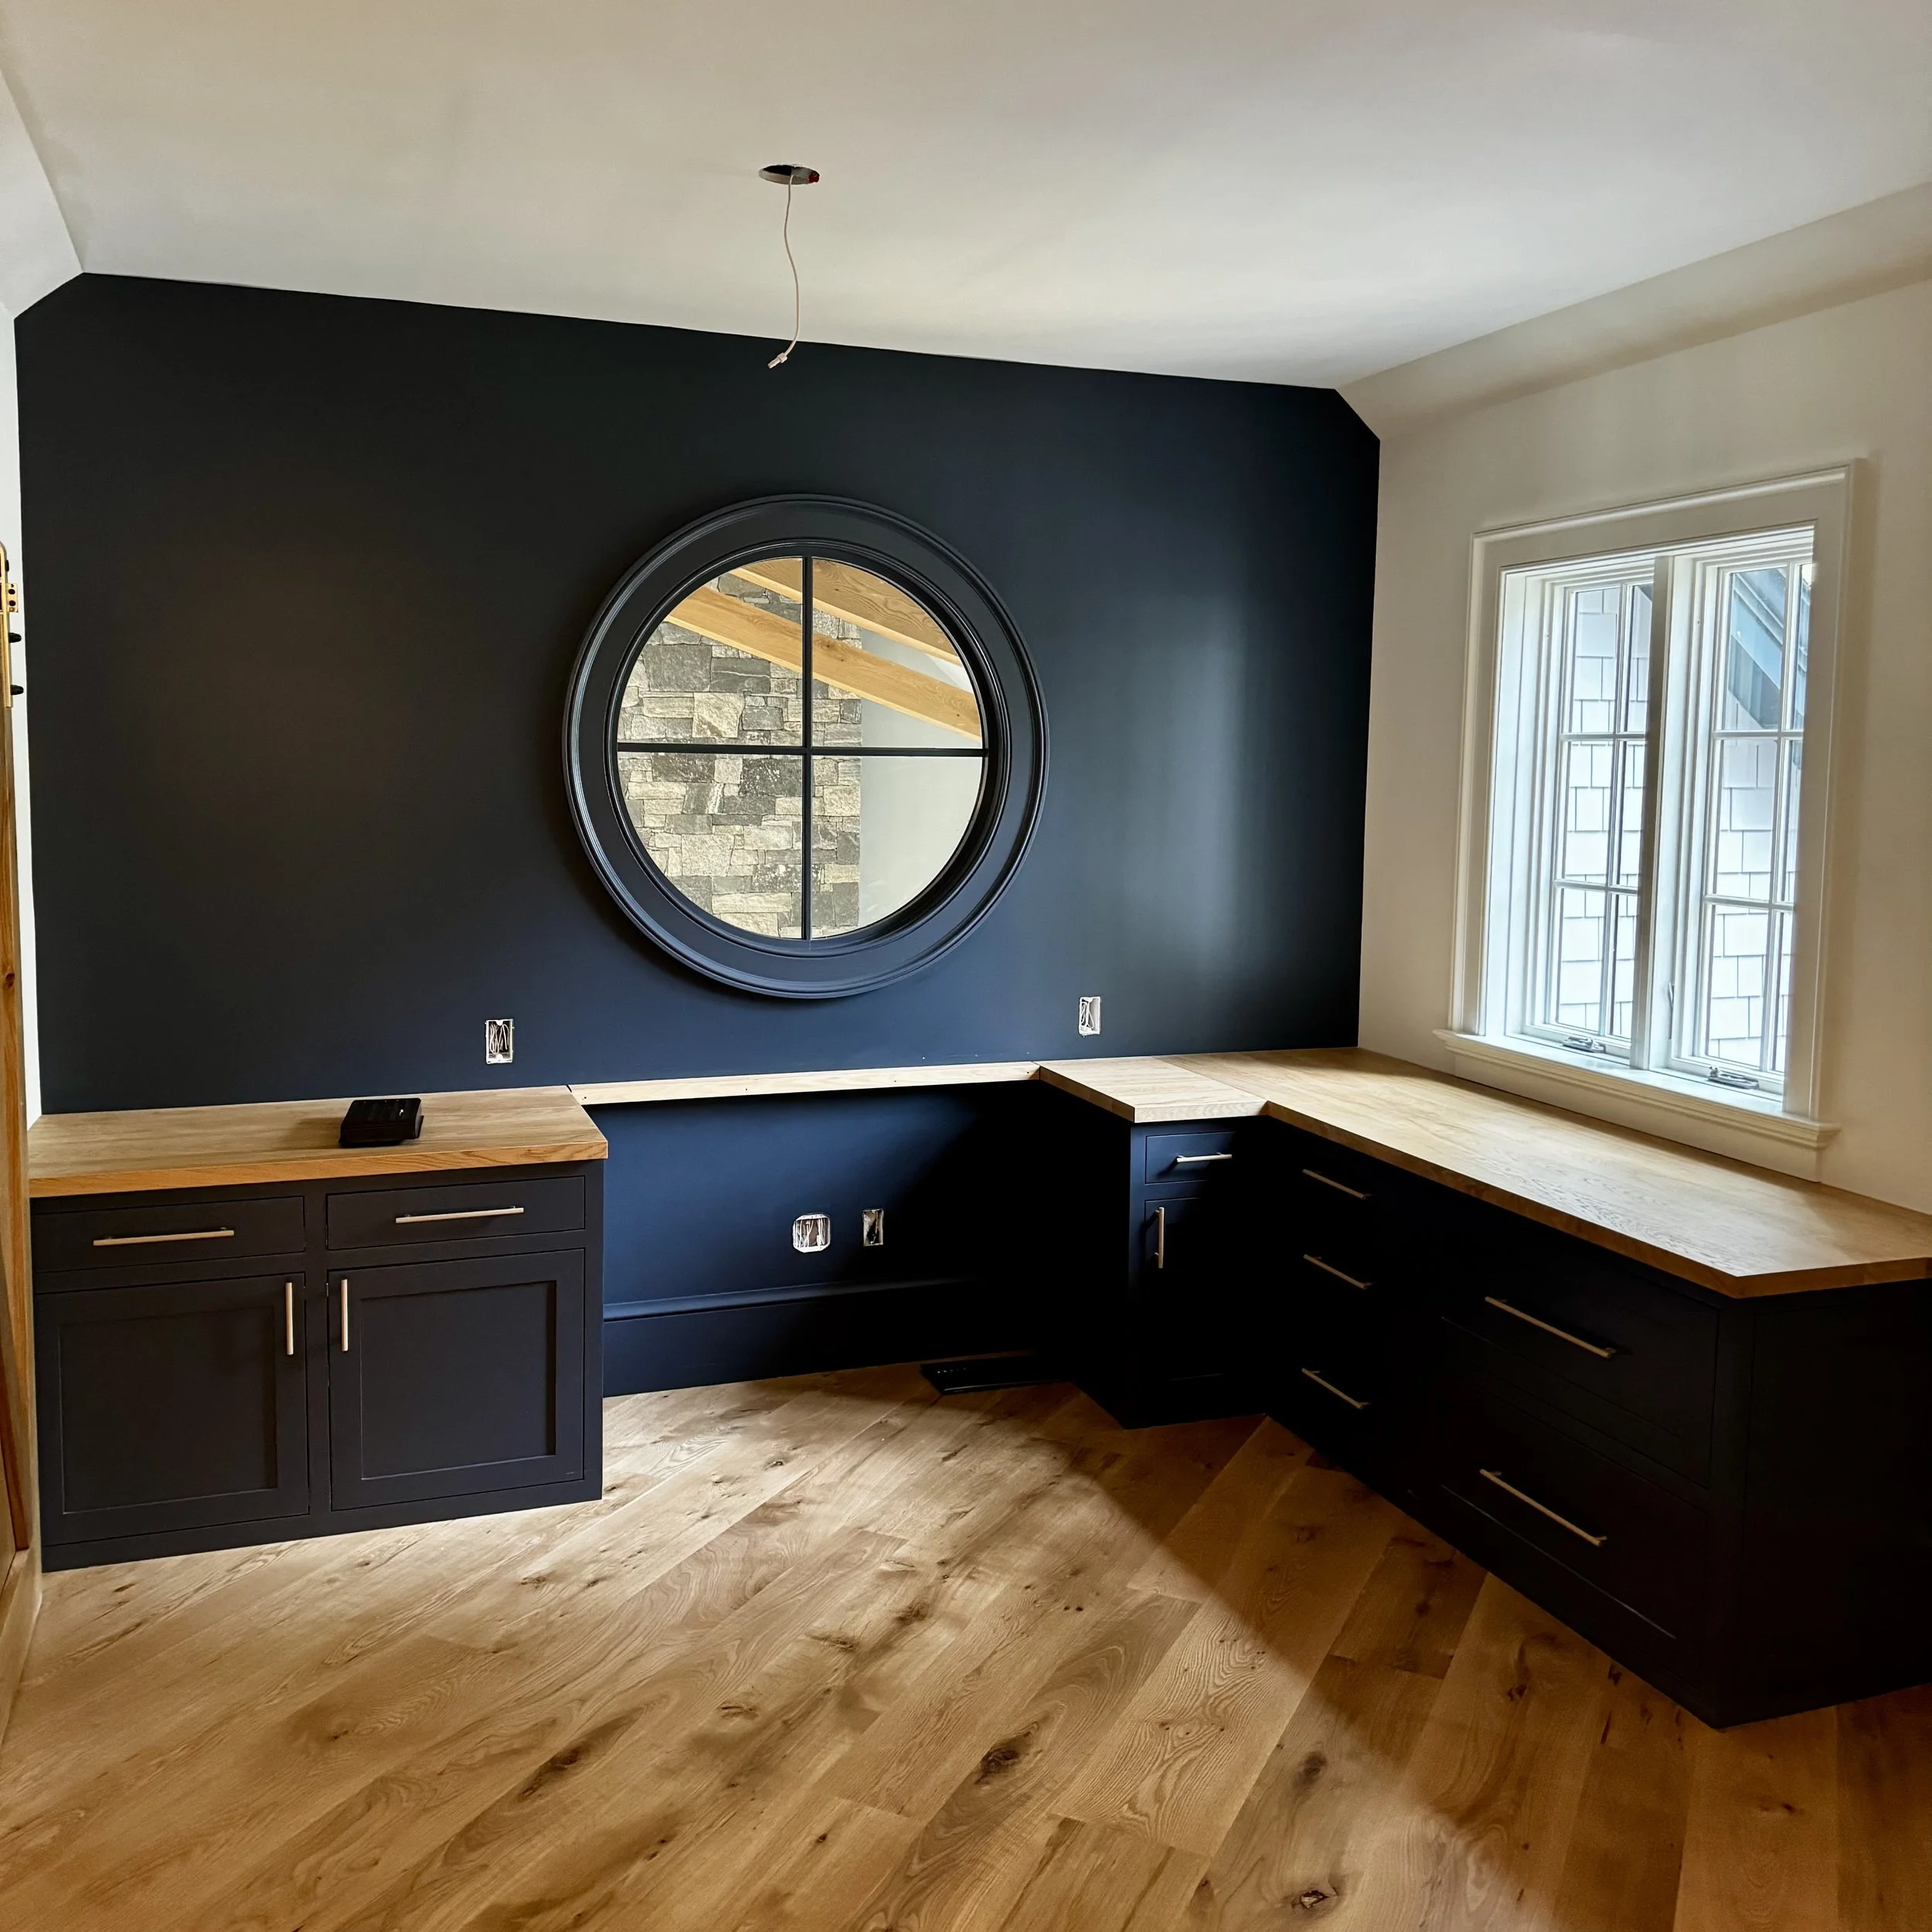
![Interior of a room under renovation with dark blue cabinets, wooden countertops, a large round mirror, and a window with natural light.]()
Old Lyme, Ct.
-
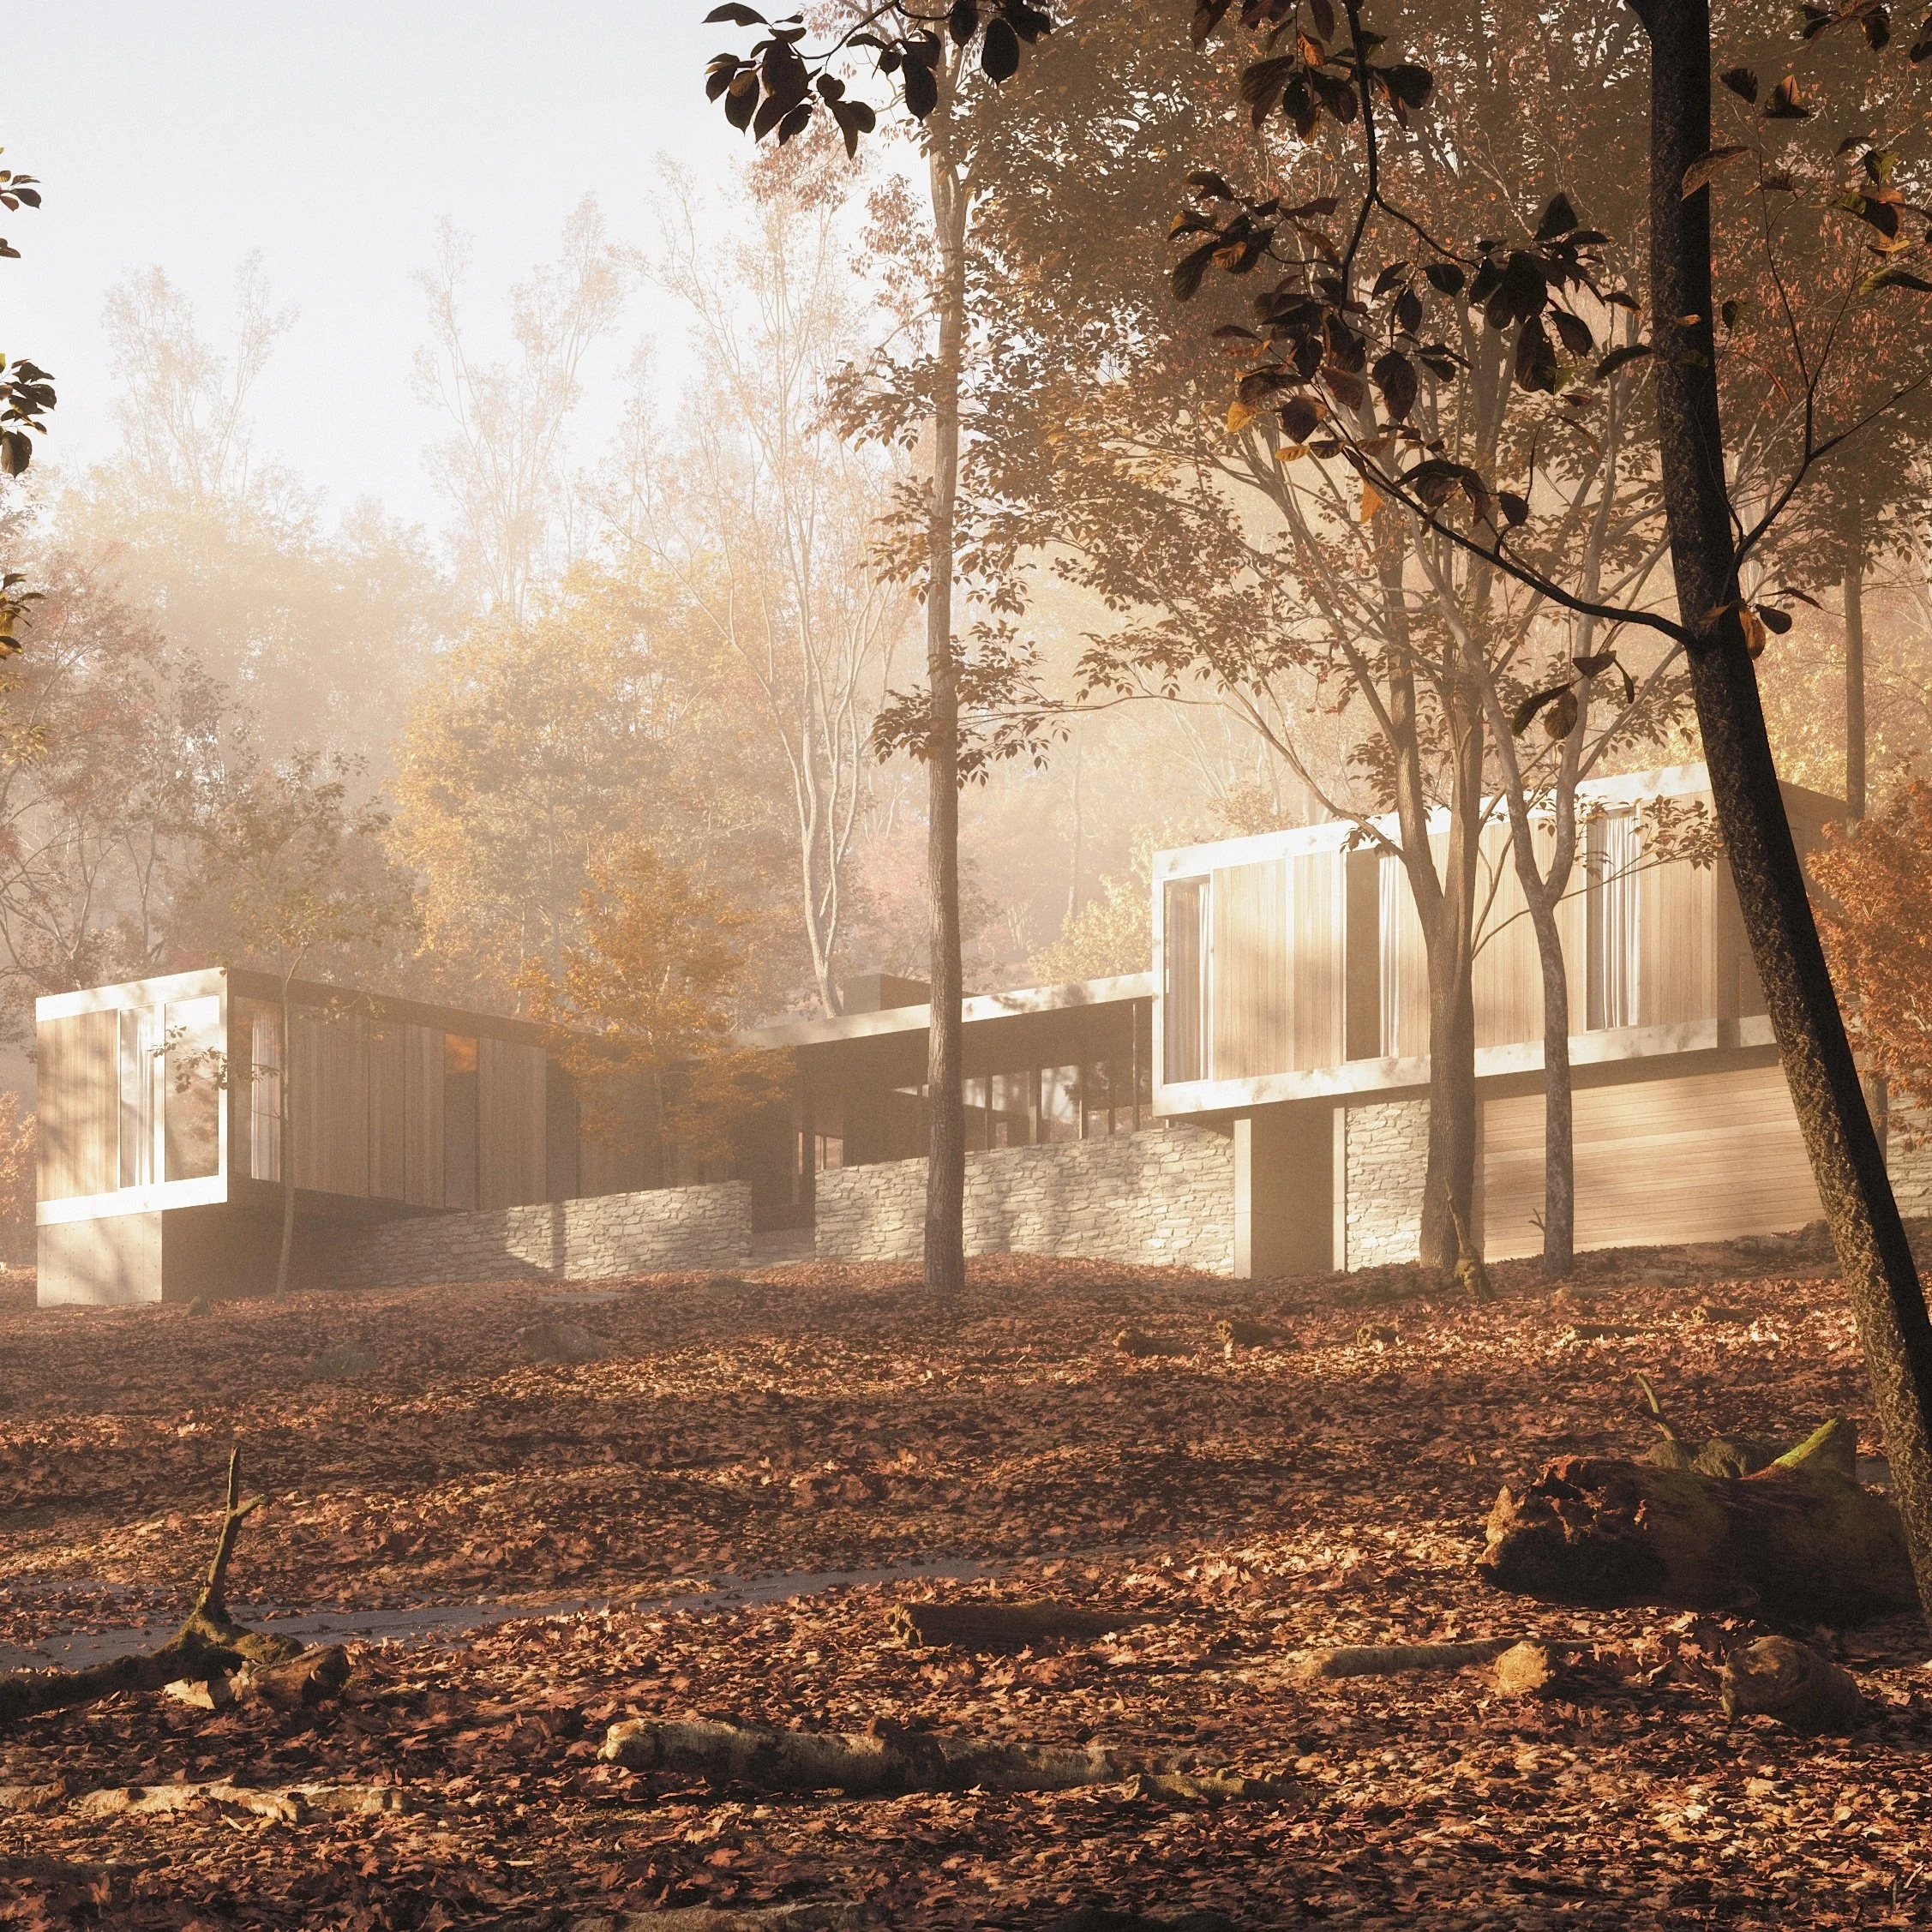
![Modern house with large glass windows and wooden panels, surrounded by trees with autumn-colored leaves, on a hillside covered with fallen leaves.]()
Deep River, Ct
-
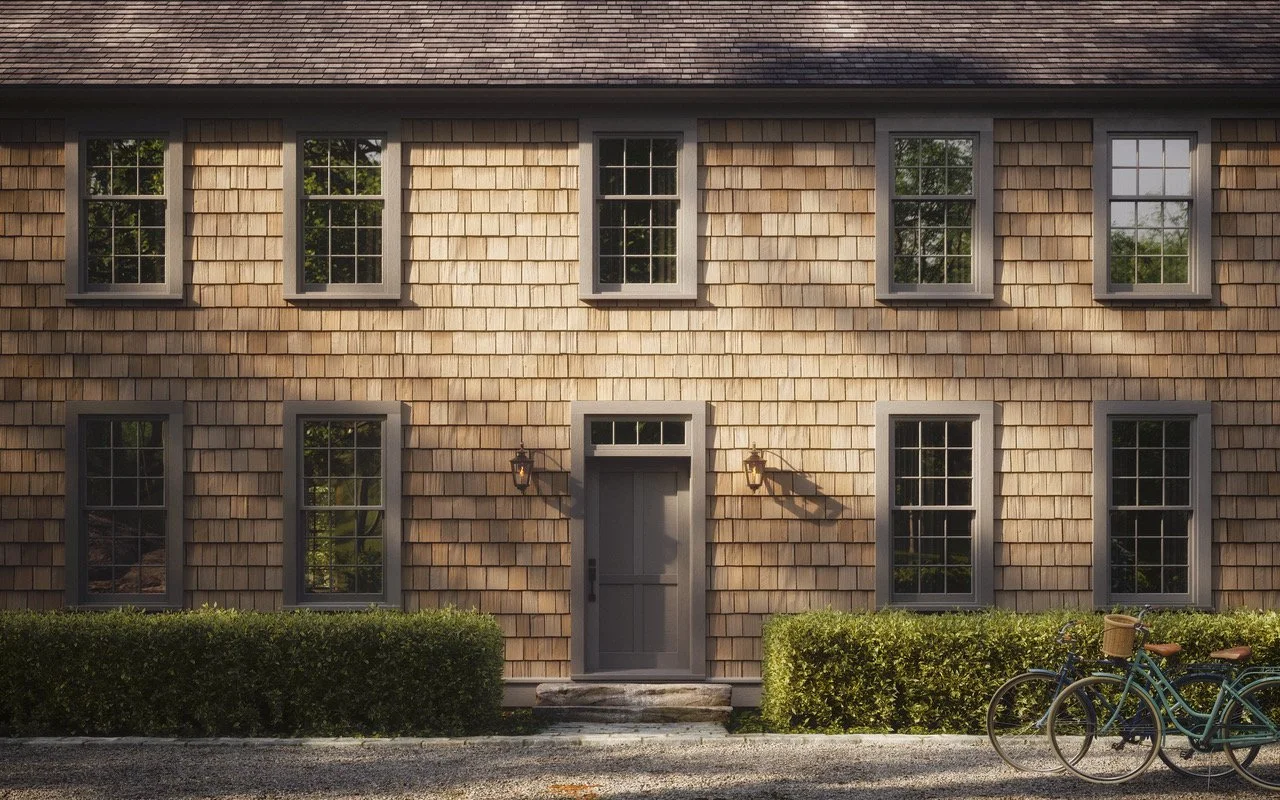
![Exterior of a tan wooden house with six windows and a gray front door, flanked by two wall-mounted lanterns, with bikes parked in front and green shrubbery along the sidewalk.]()
Old Lyme, Ct
-
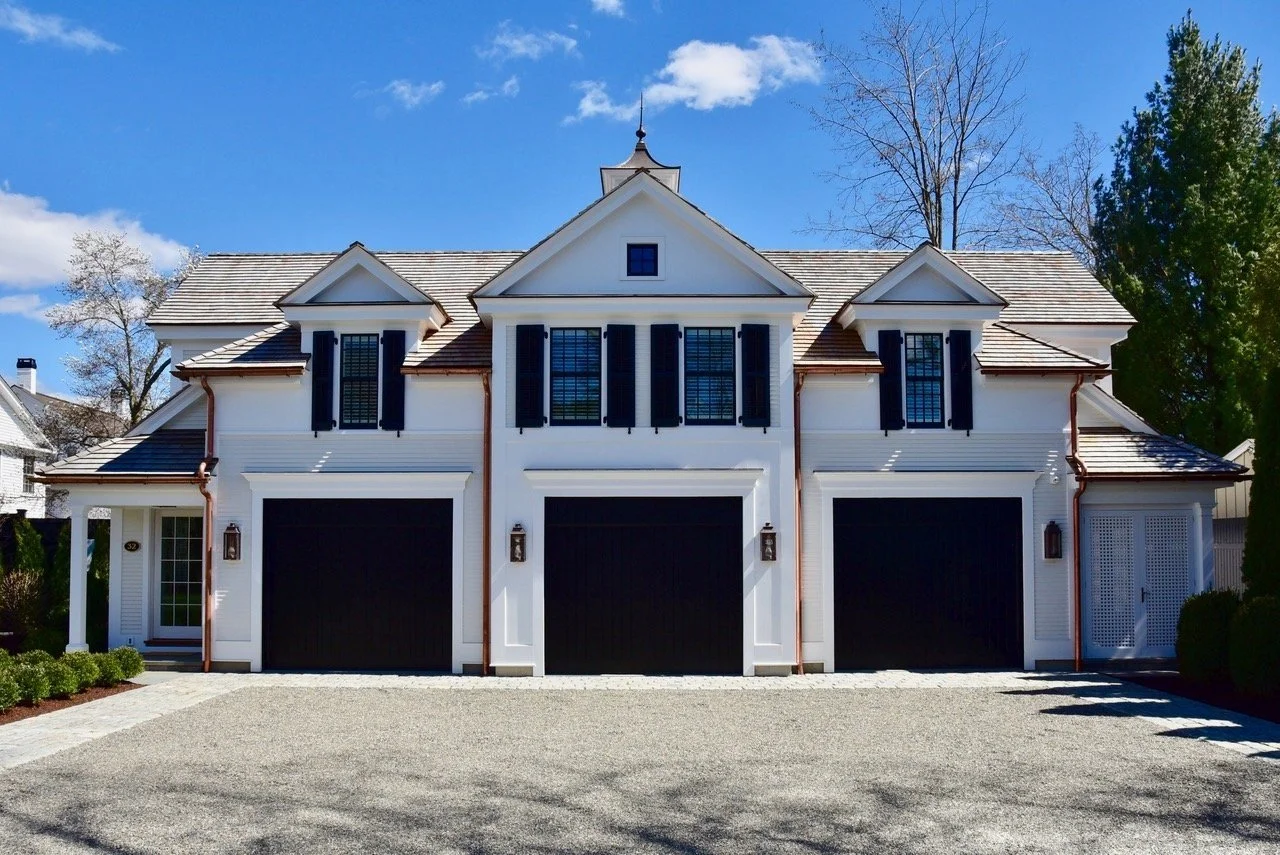
![A large, white multi-story house with black shutters, three garage doors, and a peaked roof, set against a blue sky with some clouds and partially bare trees.]()
Essex, Ct
-
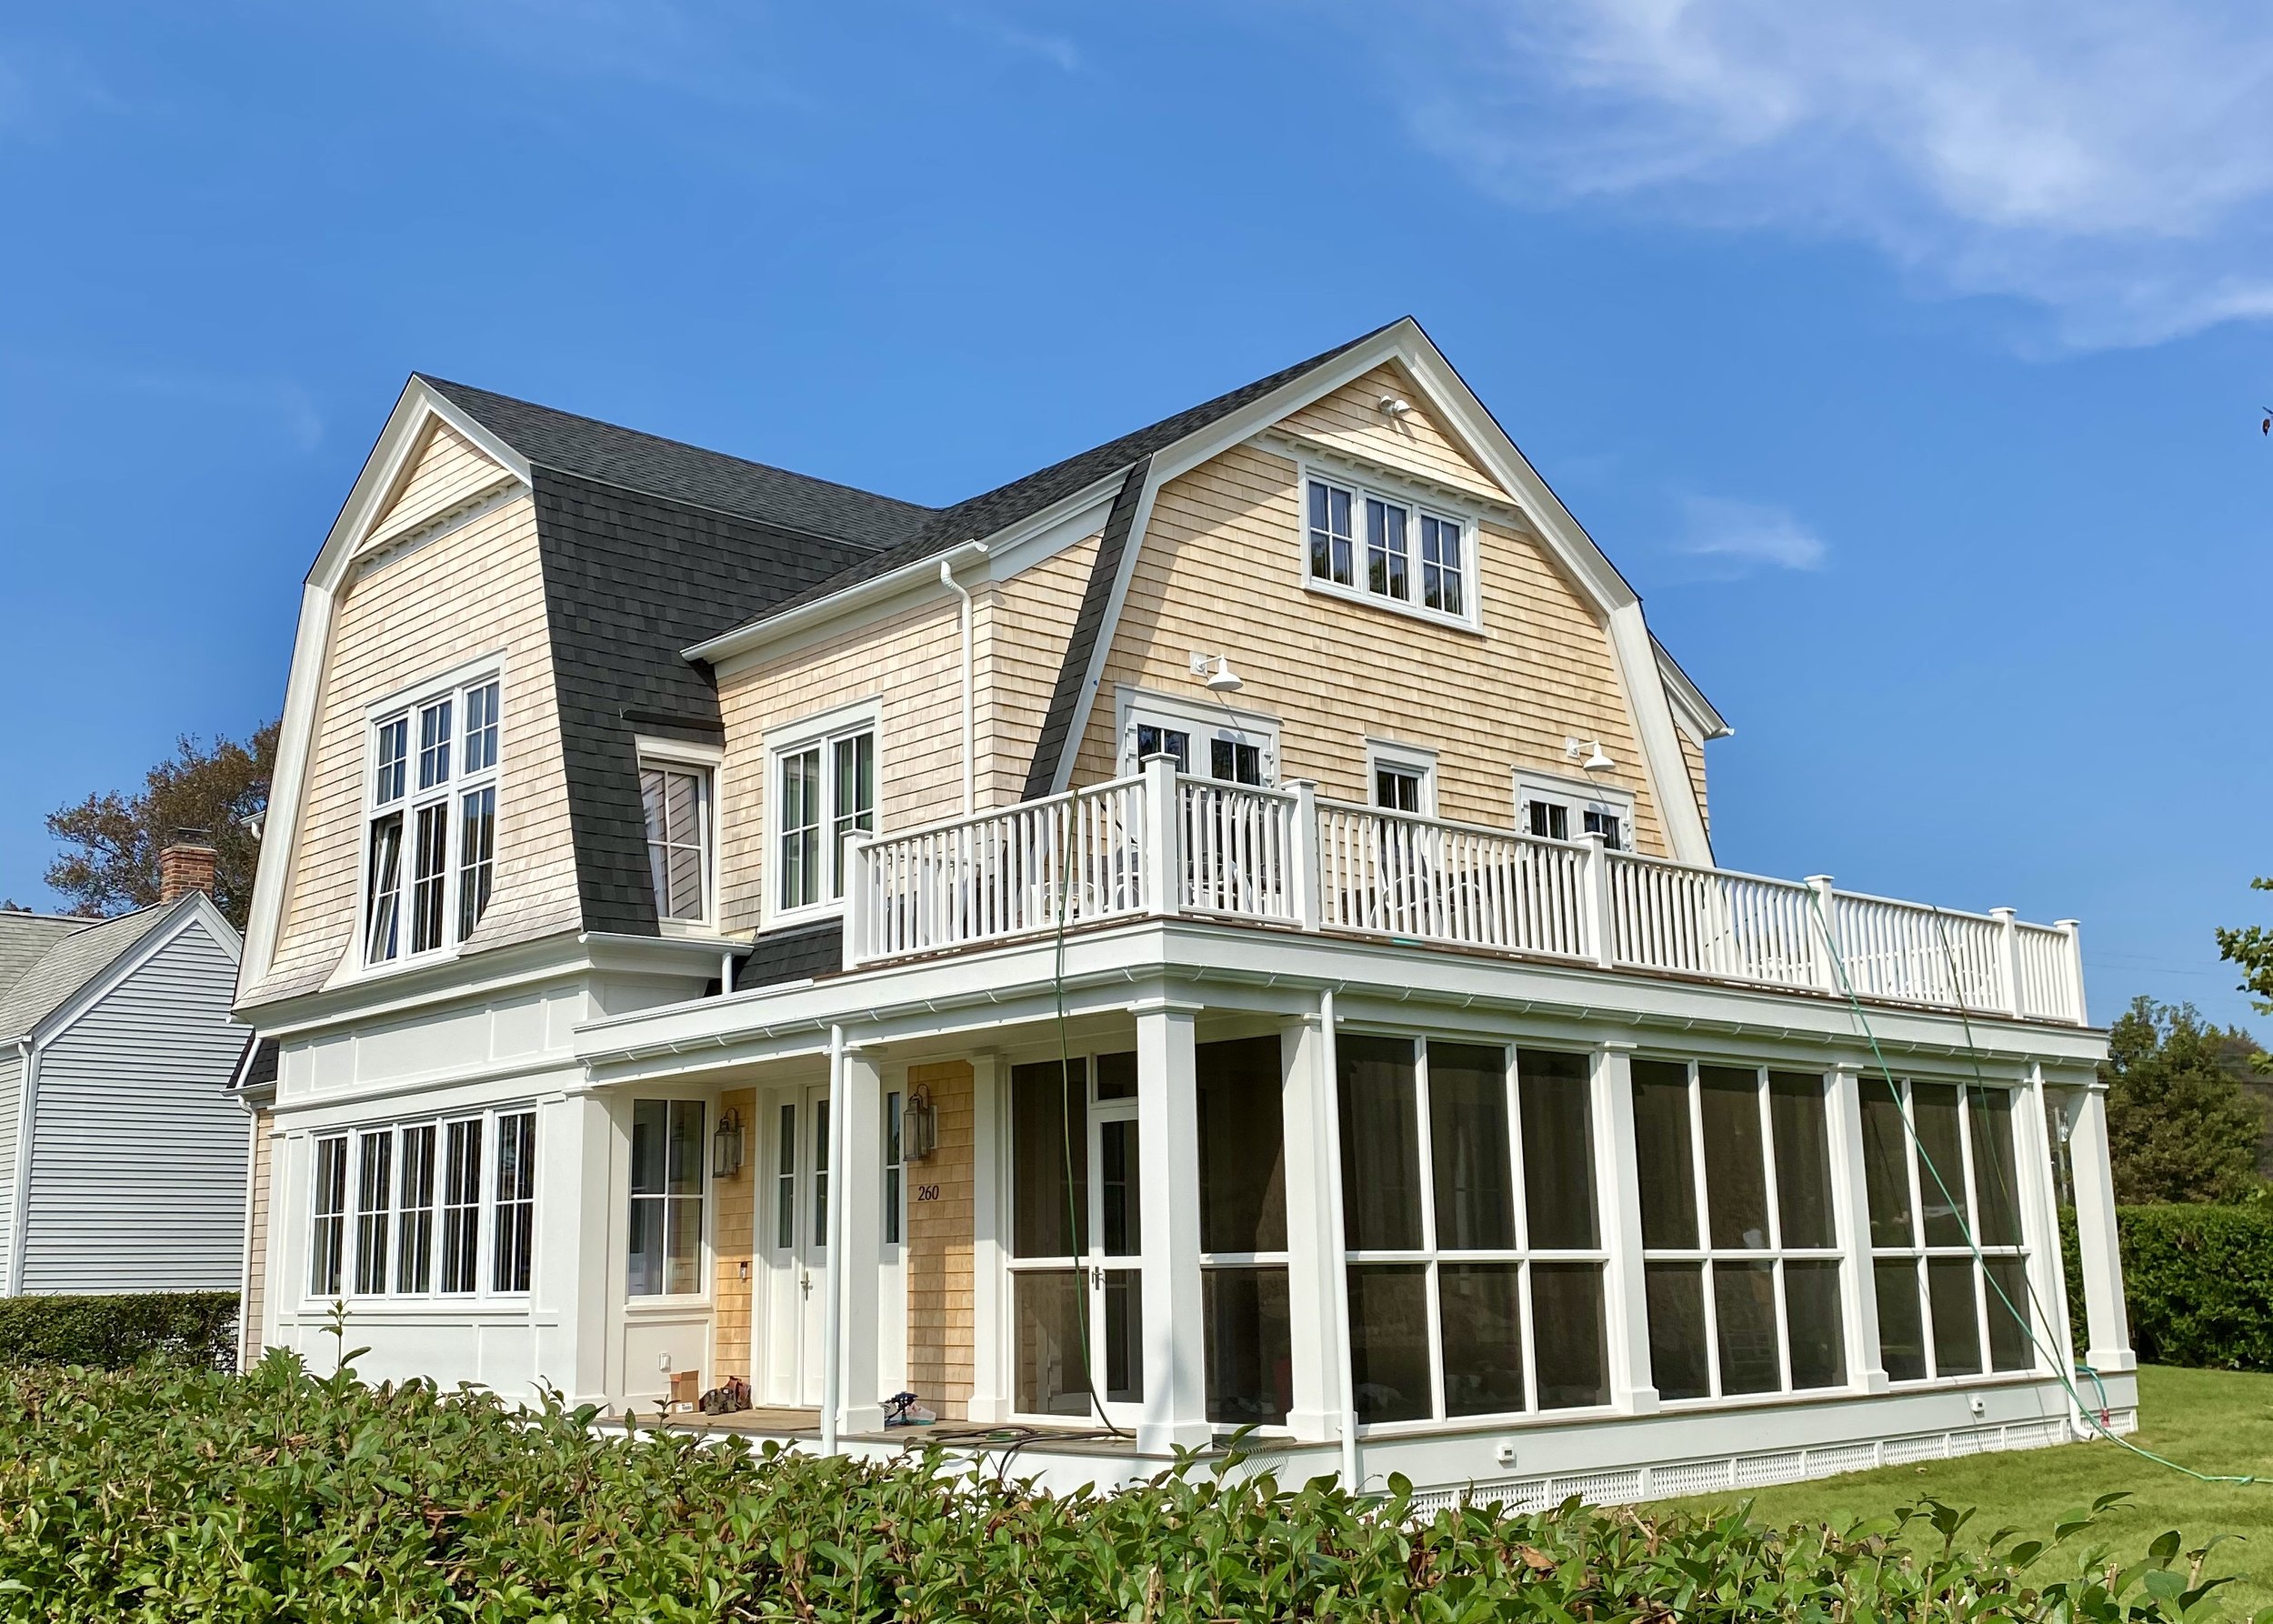
![A multi-story house with beige siding, black roof, and white framing, including large screened porch and upper balcony, under a blue sky with some clouds.]()
Passive House Old Black Point Niantic, Ct
-
![Front view of a two-story house with beige shingle siding, blue-framed windows, and a decorative curved roof section.]()
Old Black Point Niantic, Ct
-
![Front view of a building with a sign reading 'Lyme Art Association', featuring a shingled exterior, a central arched doorway with blue shutters, solar panels on the roof, and a well-maintained lawn with a brick pathway leading to the entrance.]()
Lyme Art Association Old Lyme, Ct
-
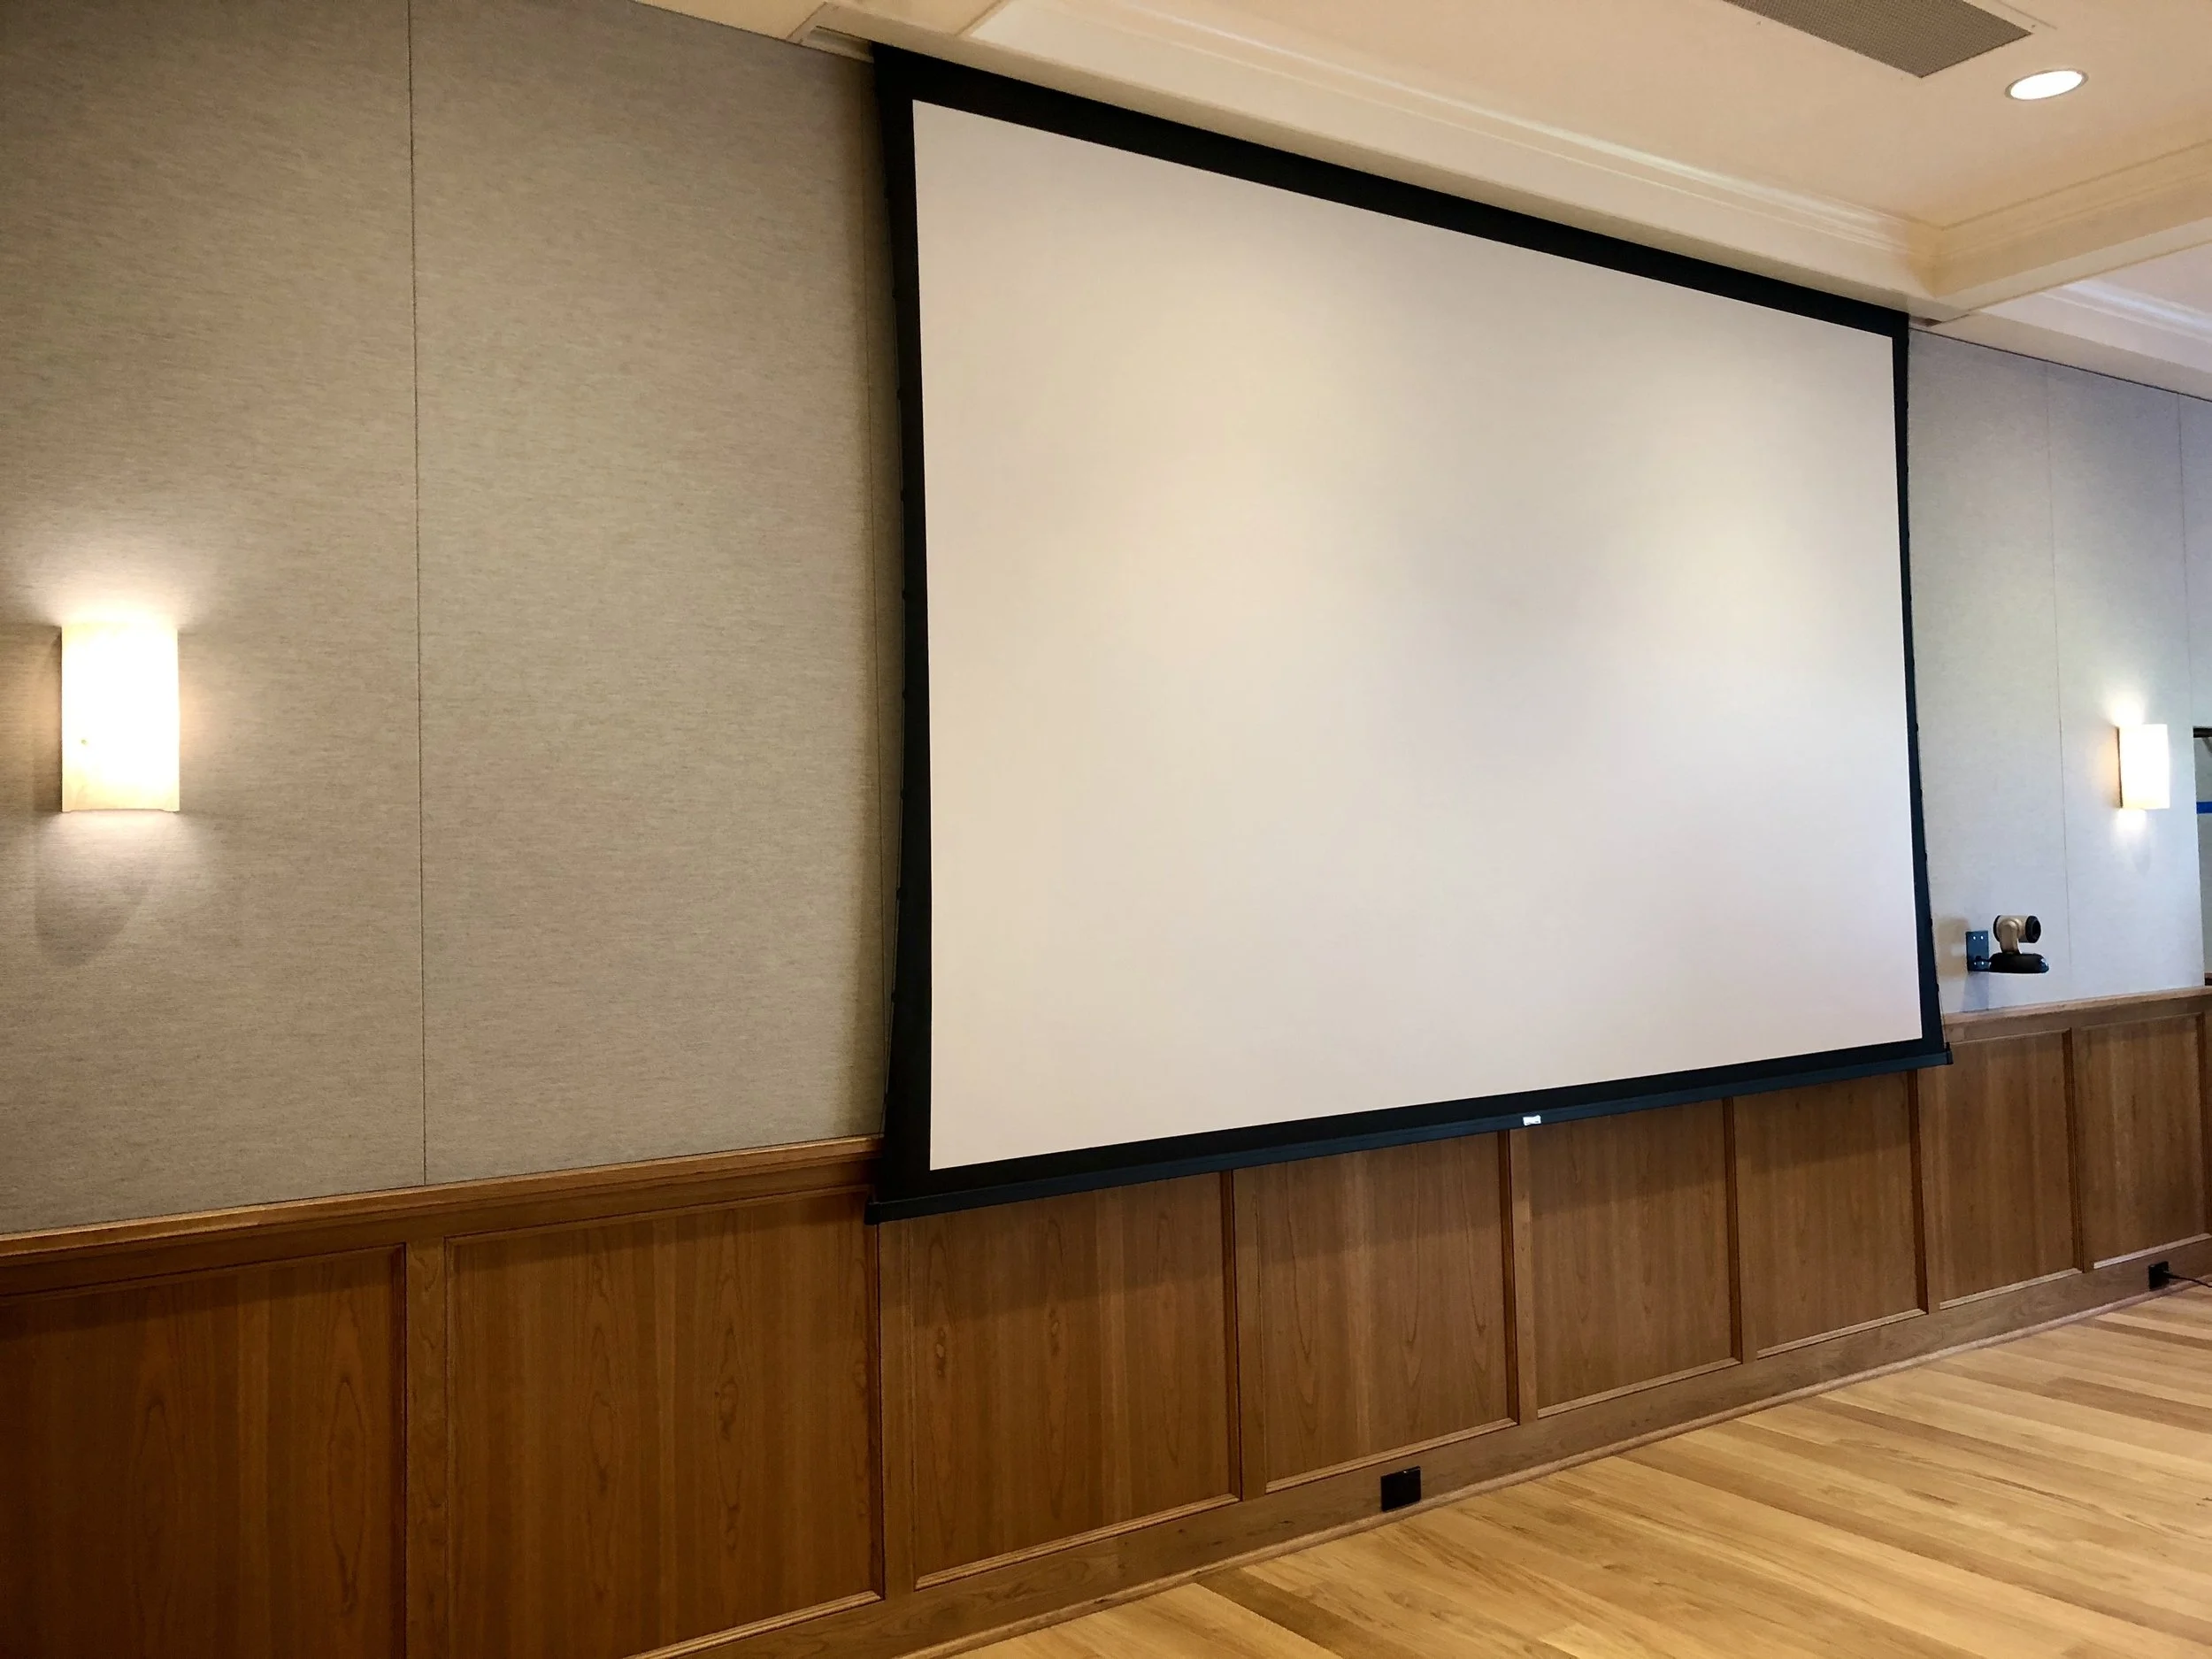
![Empty projection screen in a conference room with wooden walls and hardwood floors, illuminated by wall-mounted lights.]()
The WIlliams School New London, Ct
-
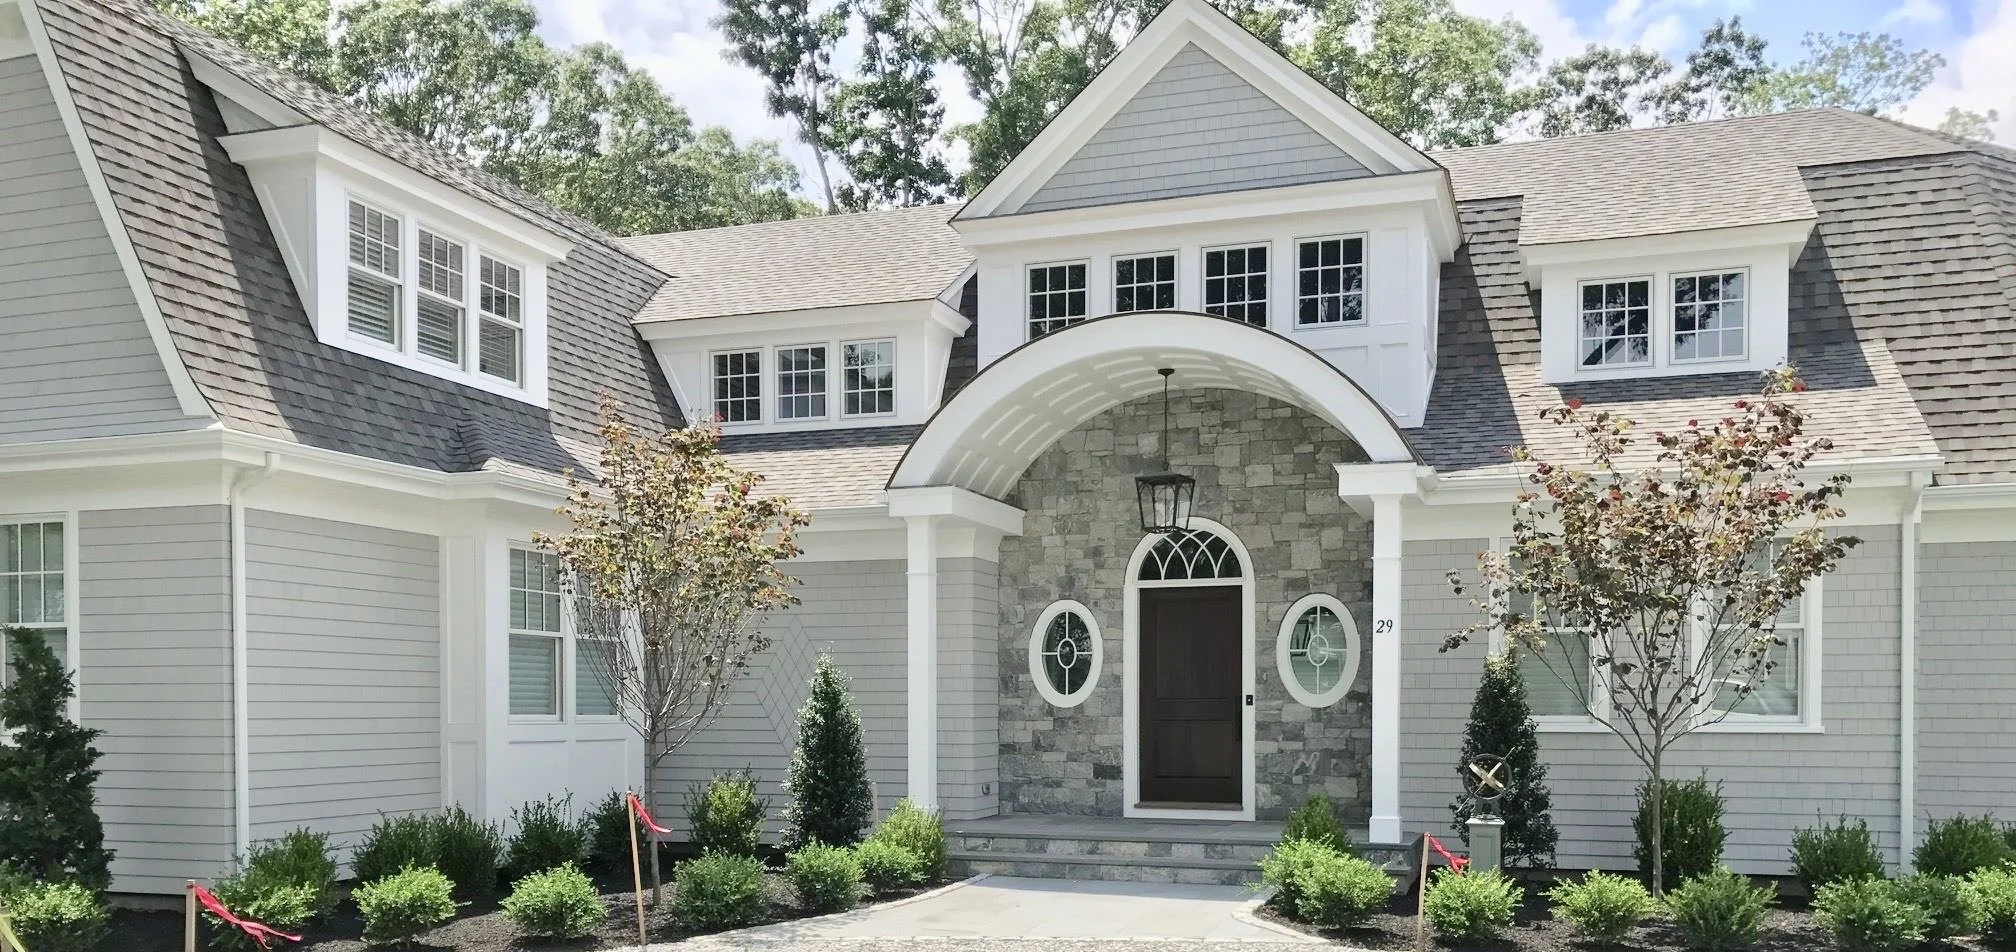
![Front view of a large, modern house with gray siding, white trim, and a stone entrance. The house has multiple dormer windows, a curved archway over the front door, and landscaped bushes and small trees in the front yard.]()
Old Saybrook, Ct
-
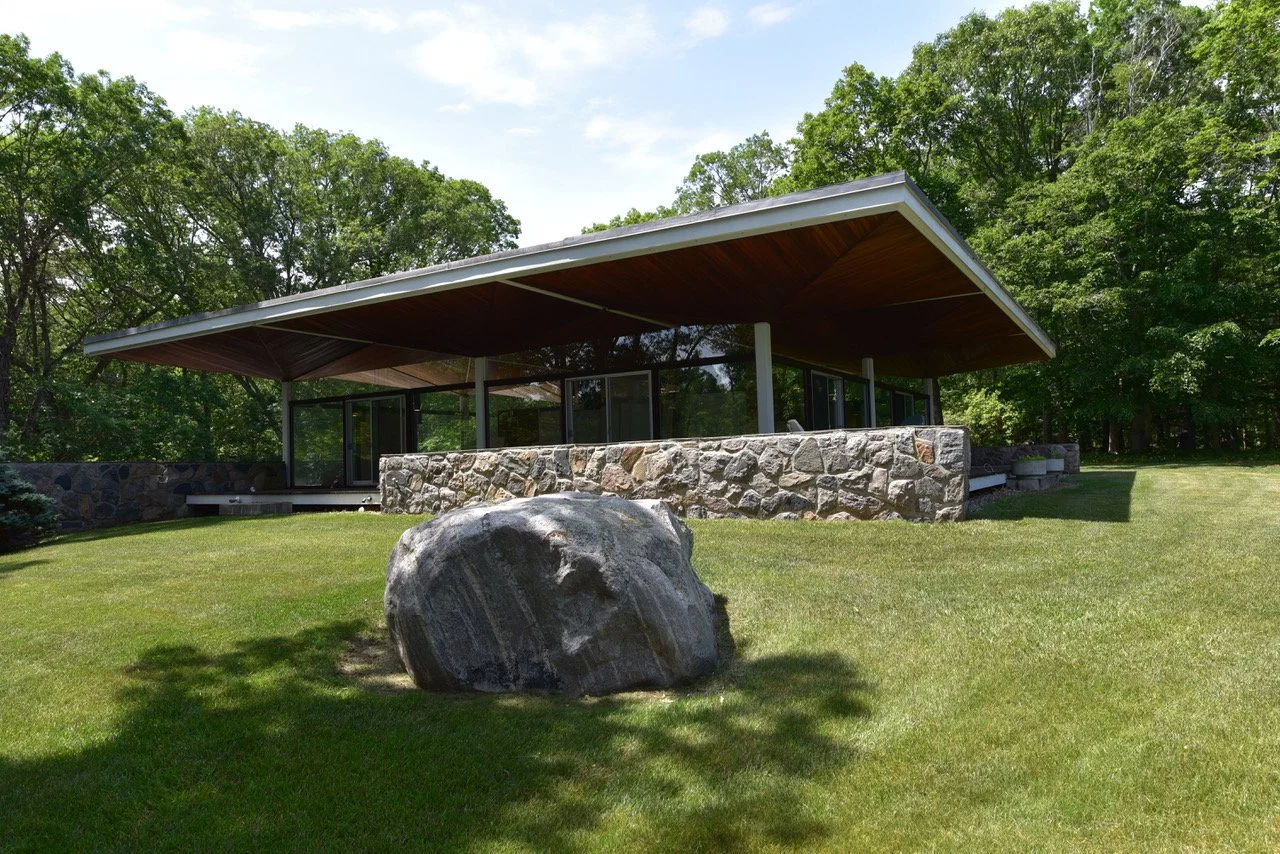
![Modern house with large glass windows and a stone foundation, surrounded by green trees and a grassy lawn with a large boulder in the foreground.]()
Essex, Ct
-
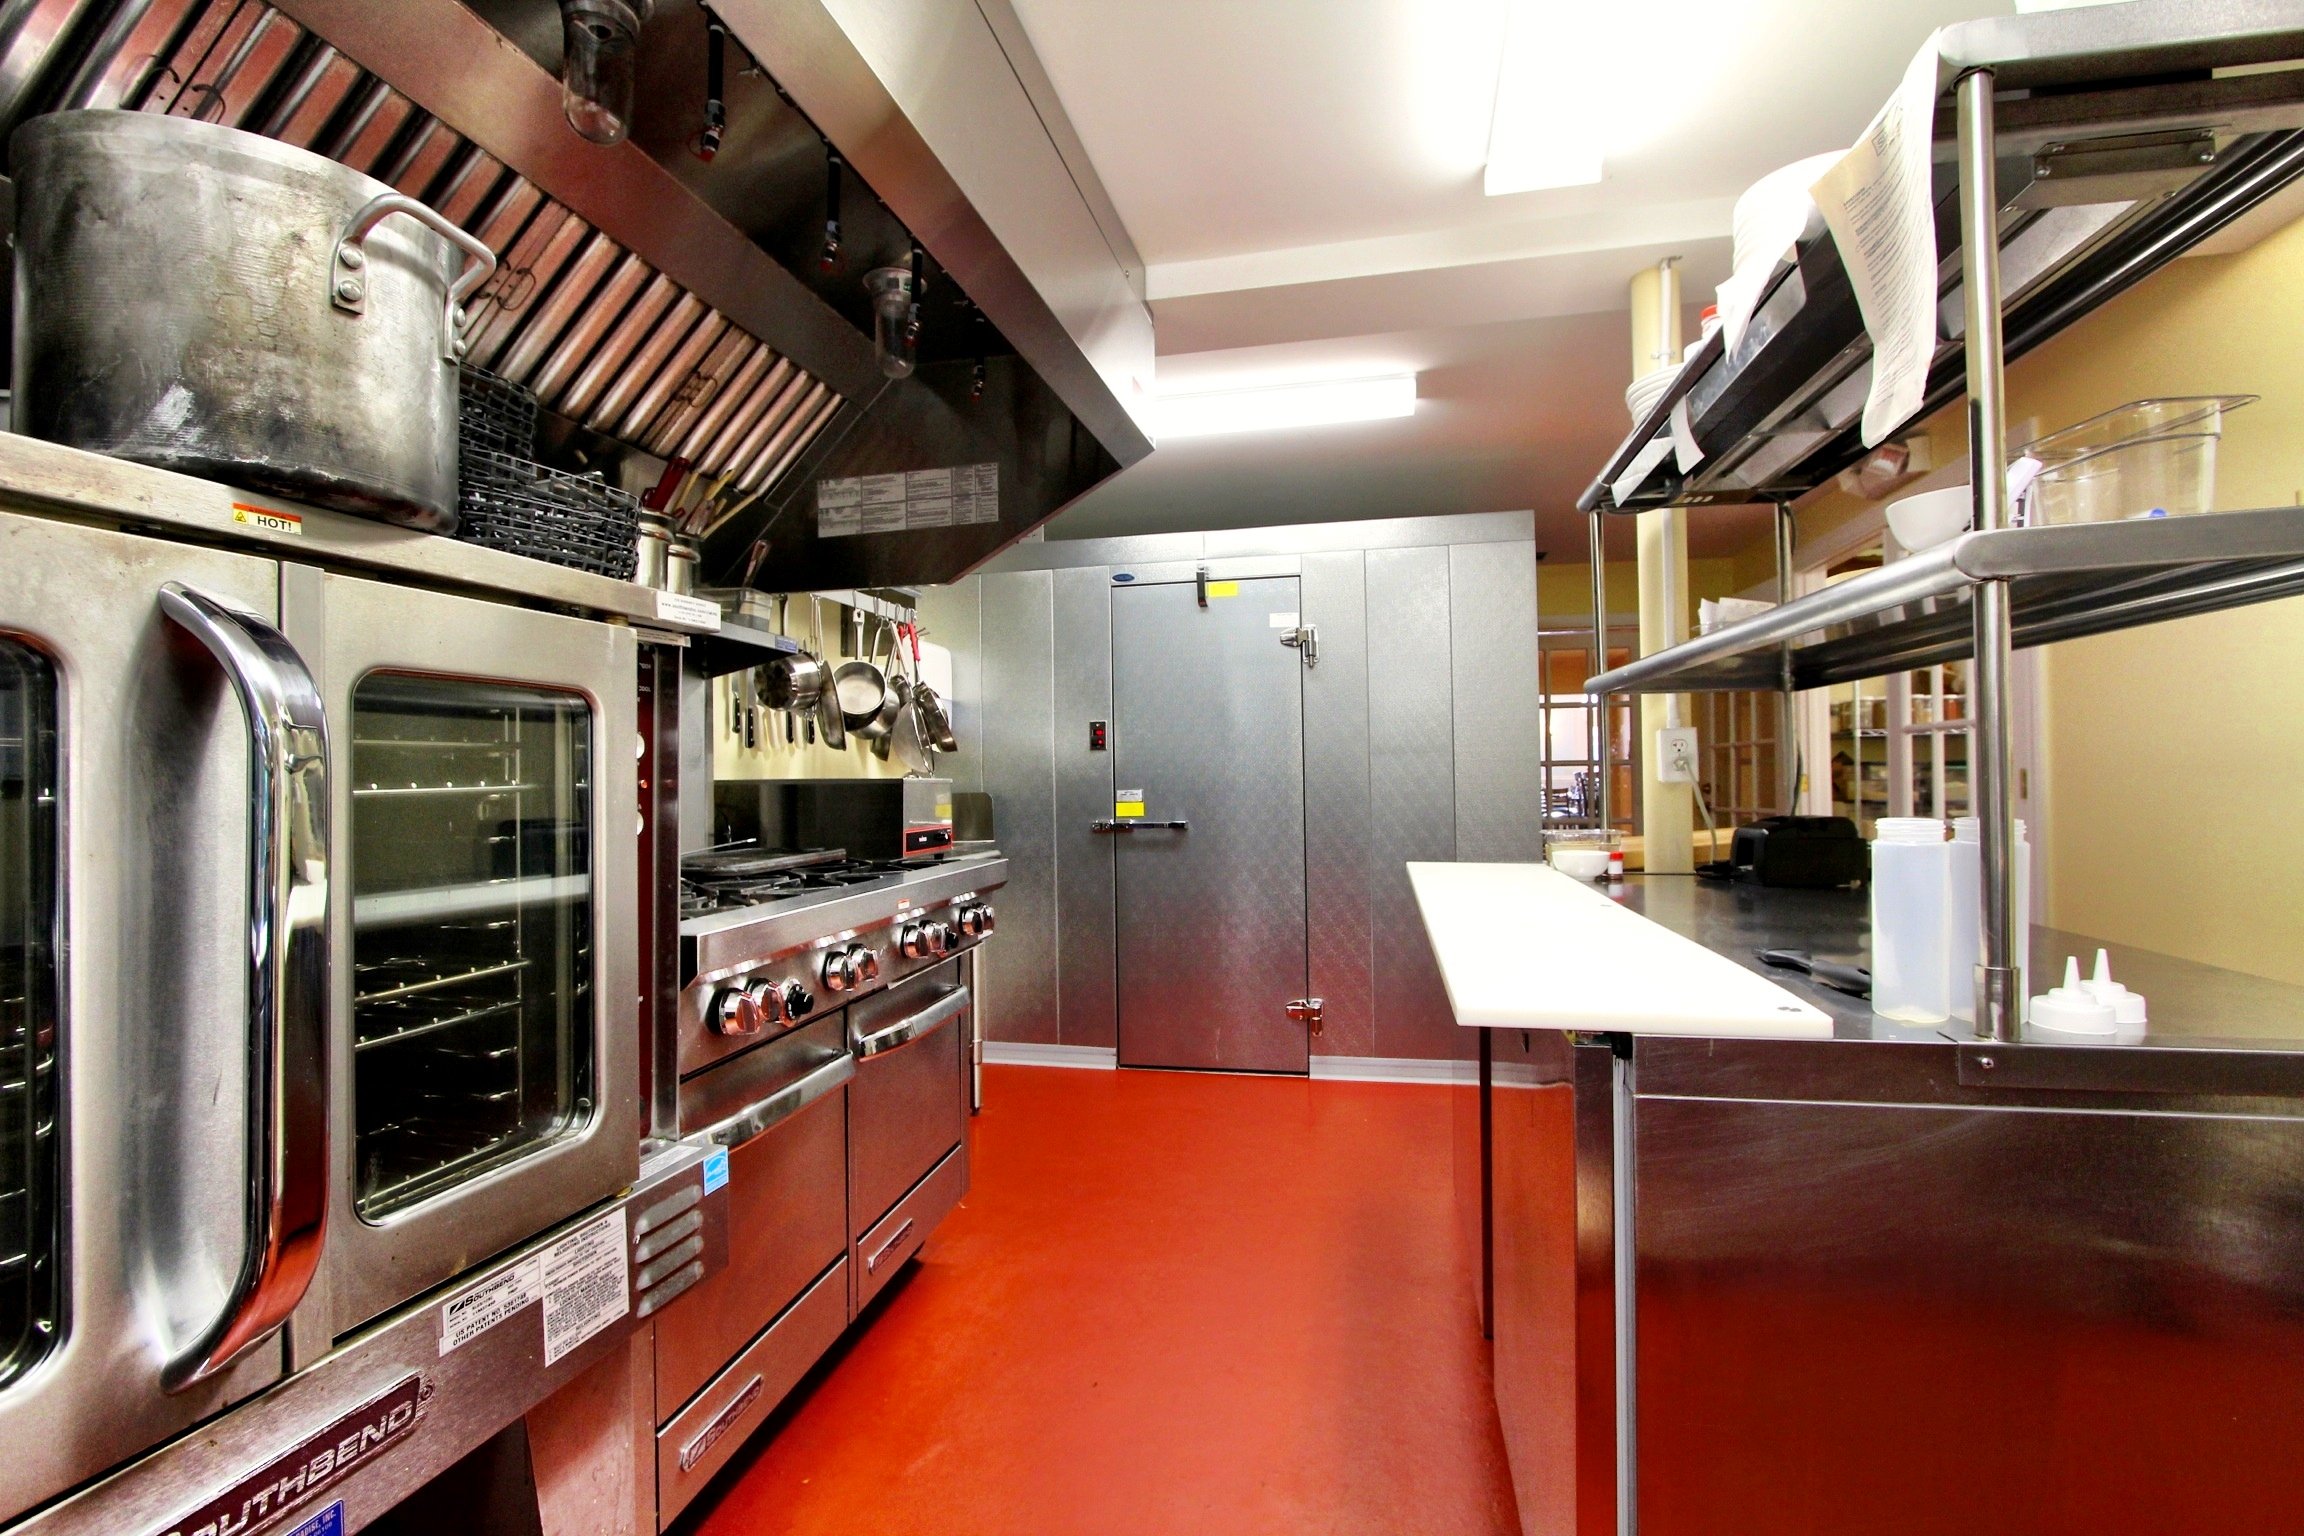
![A professional commercial kitchen with stainless steel appliances, including an oven, stove, and storage cabinets. There are shelves on the right side with bowls and kitchen supplies, and a gray metal door at the back.]()
Six Main Chester, Ct
-
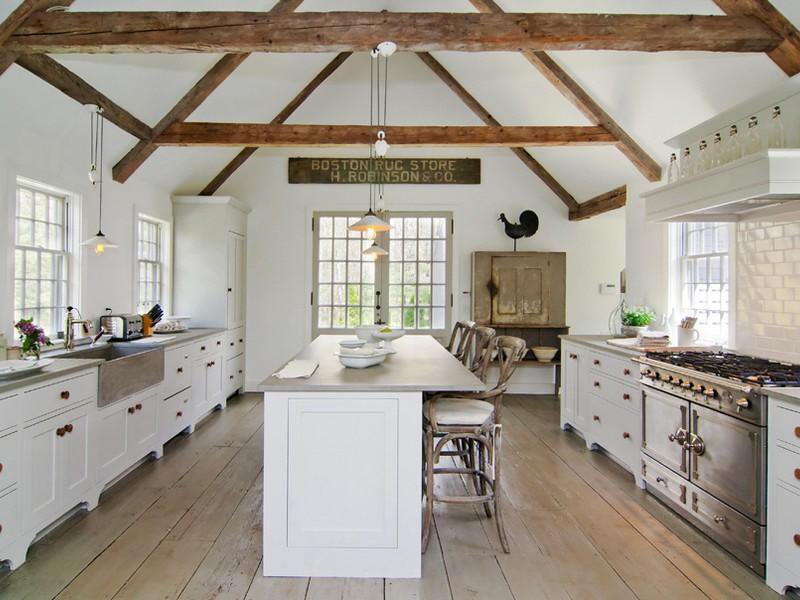
![Bright farmhouse kitchen with white cabinets, wooden beams, a central island, a stove, and large windows bringing in natural light.]()
Killingworth, Ct
-
![A modern two-story house with wooden siding on the lower level and light-colored shingles on the upper level, with a spacious porch and multiple windows, surrounded by a grassy yard with trees in the background.]()
Old Black Point, Ct


What People Are Saying
“Sapia Builders has never failed to deliever outstanding work and in a timely fashion.”
Client: Essex, CT
“Noone beats your attention to detail and thoroughness, plus, it’s always great to have you around. Cannot wait til our next adventure.”
Client: Essex, CT
“His work was on time, done to perfection and with the utmost good nature and professionalism.”
Colleague / Project Designer
“Vaulable input and advice when designing spaces and we found his work to be very high quality but fairly priced. Lastly, his employees and subcontractors were polite and professional. We could not be happier with the outcome and experience.”
Client: Old Lyme, CT
Let’s Build!
From conceptualizing to constructing, we’re ready to design your architectural dream. We promise a client-centric approach that empowers ideas, eases concerns, and delivers quality craftsmanship we’ll all be proud of.